服务器(VPS)安装WebSite Panel面板教程(图文)
(编辑:jimmy 日期: 2026/5/29 浏览:3 次 )
这篇接下来为大家分享下WebsitePanel的安装,WebsitePanel简称WSP是微软旗下,开源免费的虚拟主机系统。
一、 下载安装WebsitePanel
首先我们下载WebsitePanel安装工具:官方下载地址
下载好工具就安装
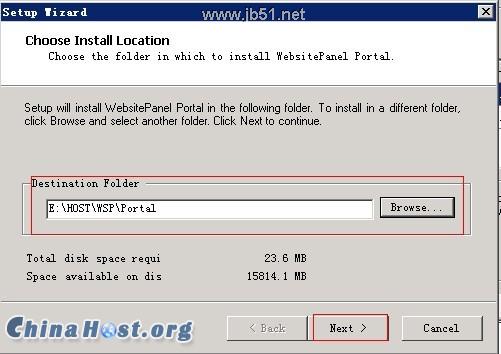
以下是选择安装的目录【建议下载到其他的目录,不要放在C盘,防止格式化】
 >
>
 >
>
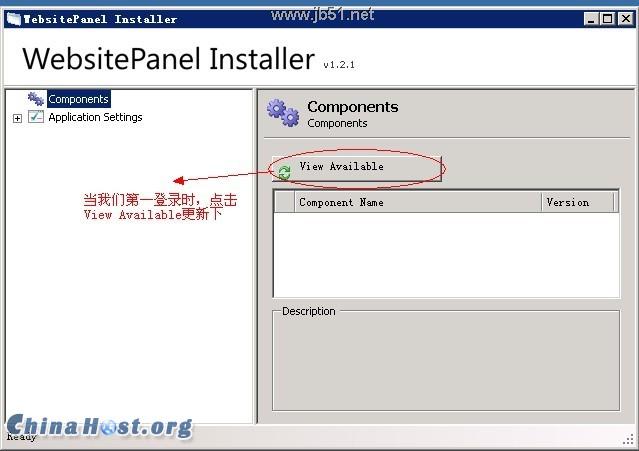
安装完成后在桌面上会生成个快捷方式:WebsitePanel Installer,双击它
 >
>
打开后点击更新
 >
>
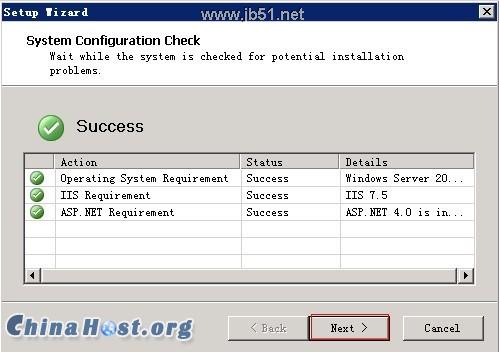
查看我们需要装的配置
 >
>
二,安装流程【先安装这三个流程来操作安装】
WSP包括三个部分:
1.WSP Enterprise Server:WSP的企业服务器
2.WSP Portal:WSP的门户网站
3.WSP Server:WSP服务器
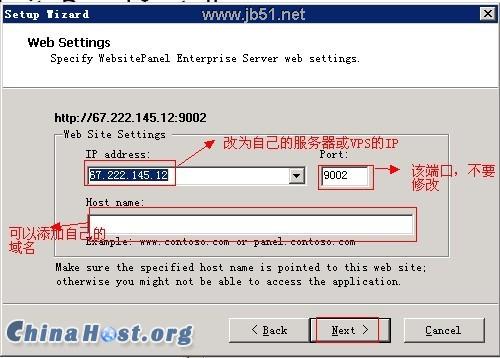
1.安装WSP Enterprise Server
1.1注意,默认的IP是127.0.0.1,所以我们要改为自己服务器的IP,端口不变,域名可以添加,添加后只能用域名通讯了,添加后可以到IIS,添加个IP即可通过域名与IP通讯连接了
 >
>
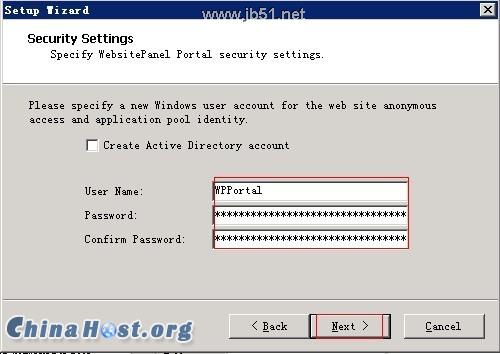
1.2新建Windows用户名与密码[新建用户后,会给予相应的权限]
 >
>
用户名与密码可以自定义的,建议使用复杂点的密码
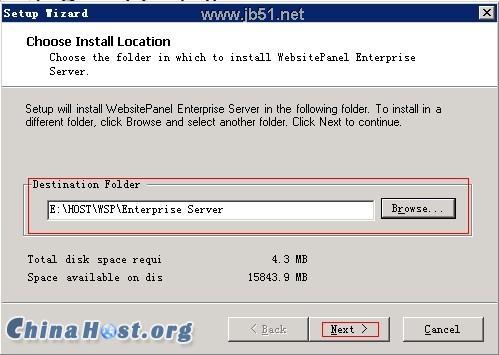
1.3选择好安装的目录,我们建议安装到非系统盘里,这样防止系统被格式后导致无法使用
 >
>
 >
>
 >
>
 >
>
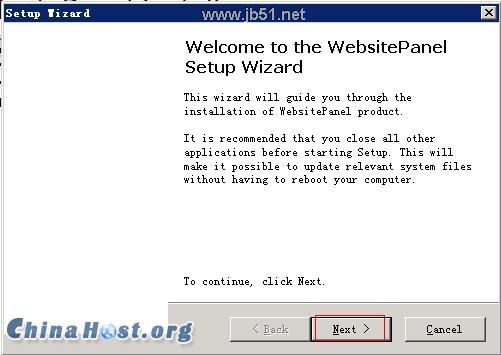
2.安装WSP Portal
2.1
 >
>
2.2
 >
>
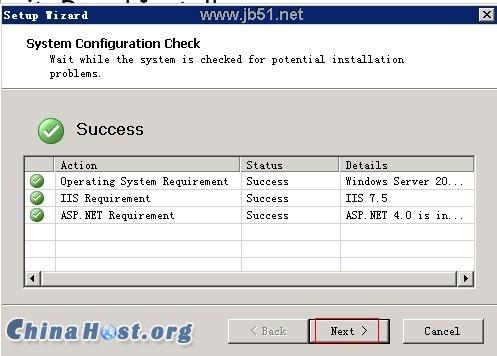
2.3
 >
>
2.4SQL Server 选择数据库的名称即可
登录名:sa[默认的sa用户]
密码:****[在安装MSSQL数据库时填写的密码]
 >
>
2.5这个输入你在http://IP:9001登录的系统管理员帐号
用户名:Serveradmin【默认的】
密码:******【你自己可以填写】
 >
>
2.6安装的目录,建议放在其他盘里
 >
>
2.7系统默认的IP是127.0.0.1,所以我们要修改为自己服务器上的IP,端口不变
 >
>
2.8在Windows新建个帐户【可以自定义】
 >
>
2.9系统默认的是127.0.0.1,所以我们要修改为第一步安装的【WSP Enterprise Server 】设置的IP/或服务器IP即可,端口必须是9002,这个是与WSP Enterprise Server 通讯的连接口
 >
>
2.10
 >
>
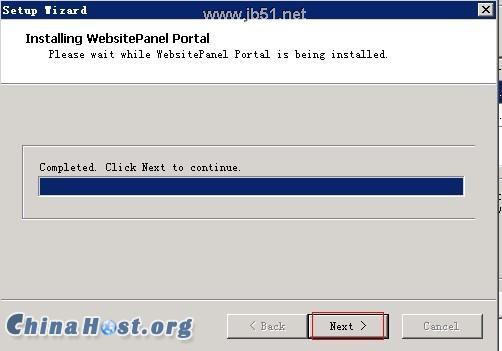
2.11安装完成
 >
>
3.安装WSP Server
3.1开始安装
 >
>
3.2同意
 >
>
3.3检查环境
 >
>
3.4选择目录【建议不要放在C盘】
 >
>
3.5设置IP,默认的是127.0.0.1所以得把IP改为服务器IP,端口:9003,所以不需要修改
 >
>
3.6新建一个Windows帐户,帐户与密码可以自定义,建议改的复杂点
 >
>
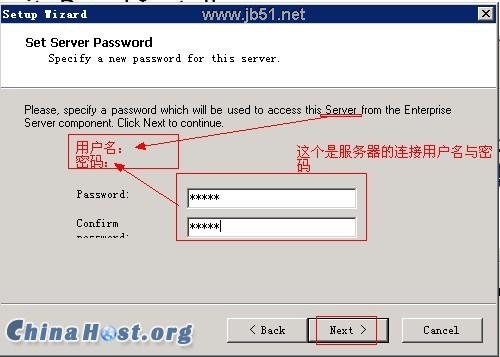
3.7添加Server服务器的密码,在面板上是做为通讯连接的,所以一定要记住
 >
>
 >
>
完成

一、 下载安装WebsitePanel
首先我们下载WebsitePanel安装工具:官方下载地址
下载好工具就安装
以下是选择安装的目录【建议下载到其他的目录,不要放在C盘,防止格式化】
> > 安装完成后在桌面上会生成个快捷方式:WebsitePanel Installer,双击它
> 打开后点击更新
> 查看我们需要装的配置
> 二,安装流程【先安装这三个流程来操作安装】
WSP包括三个部分:
1.WSP Enterprise Server:WSP的企业服务器
2.WSP Portal:WSP的门户网站
3.WSP Server:WSP服务器
1.安装WSP Enterprise Server
1.1注意,默认的IP是127.0.0.1,所以我们要改为自己服务器的IP,端口不变,域名可以添加,添加后只能用域名通讯了,添加后可以到IIS,添加个IP即可通过域名与IP通讯连接了
> 1.2新建Windows用户名与密码[新建用户后,会给予相应的权限]
> 用户名与密码可以自定义的,建议使用复杂点的密码
1.3选择好安装的目录,我们建议安装到非系统盘里,这样防止系统被格式后导致无法使用
> > > > 2.安装WSP Portal
2.1
> 2.2
> 2.3
> 2.4SQL Server 选择数据库的名称即可
登录名:sa[默认的sa用户]
密码:****[在安装MSSQL数据库时填写的密码]
> 2.5这个输入你在http://IP:9001登录的系统管理员帐号
用户名:Serveradmin【默认的】
密码:******【你自己可以填写】
> 2.6安装的目录,建议放在其他盘里
> 2.7系统默认的IP是127.0.0.1,所以我们要修改为自己服务器上的IP,端口不变
> 2.8在Windows新建个帐户【可以自定义】
> 2.9系统默认的是127.0.0.1,所以我们要修改为第一步安装的【WSP Enterprise Server 】设置的IP/或服务器IP即可,端口必须是9002,这个是与WSP Enterprise Server 通讯的连接口
> 2.10
> 2.11安装完成
> 3.安装WSP Server
3.1开始安装
> 3.2同意
> 3.3检查环境
> 3.4选择目录【建议不要放在C盘】
> 3.5设置IP,默认的是127.0.0.1所以得把IP改为服务器IP,端口:9003,所以不需要修改
> 3.6新建一个Windows帐户,帐户与密码可以自定义,建议改的复杂点
> 3.7添加Server服务器的密码,在面板上是做为通讯连接的,所以一定要记住
> > 完成
基本的WebsitePanel 配置已经完成,接下来可以到Http://IP:9001添加:服务器、套餐、代理用户等
下一篇:ServU7不支持中文名的解决办法(Serv-U中文目录和文件名变乱码问题)